 Golf Course Review by: Billy Satterfield
The Takeaway: Routed through the mountains surrounding Whistler, Chateau rarely features a flat hole due to the significant elevation changes throughout. As a result, exciting shots are found at every turn, but missing the fairway often results in a lost ball. As you get onto the back nine, keep your eyes peeled for bear sightings. Grade B-
Quick Facts
Designer: Robert Trent Jones Jr. 1993
Cost: $70 - $105 (includes cart) Click for current rates
Phone Number: 604.938.2092
Course Website: Official Website - Visit Fairmont Chateau Whistler Golf Club's official website by clicking on the link provided.
Directions: Get here! - 4612 Blackcomb Way, Whistler, British Columbia V8E 0Z5 – CANADA
Photos: See additional photos of Fairmont Chateau Whistler Golf Club
Similar Course:
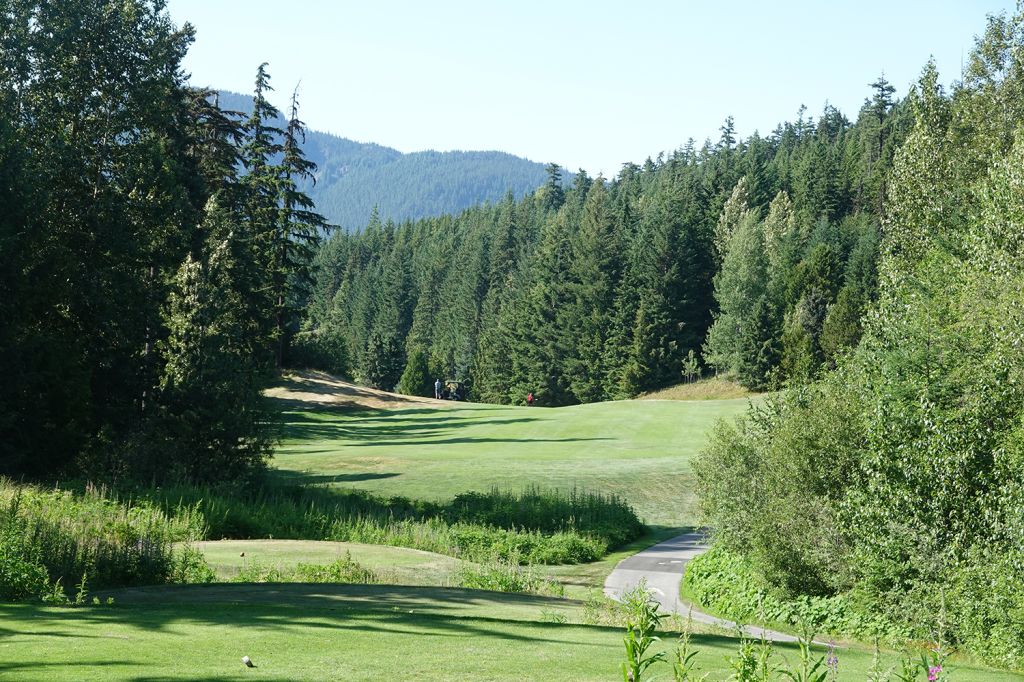
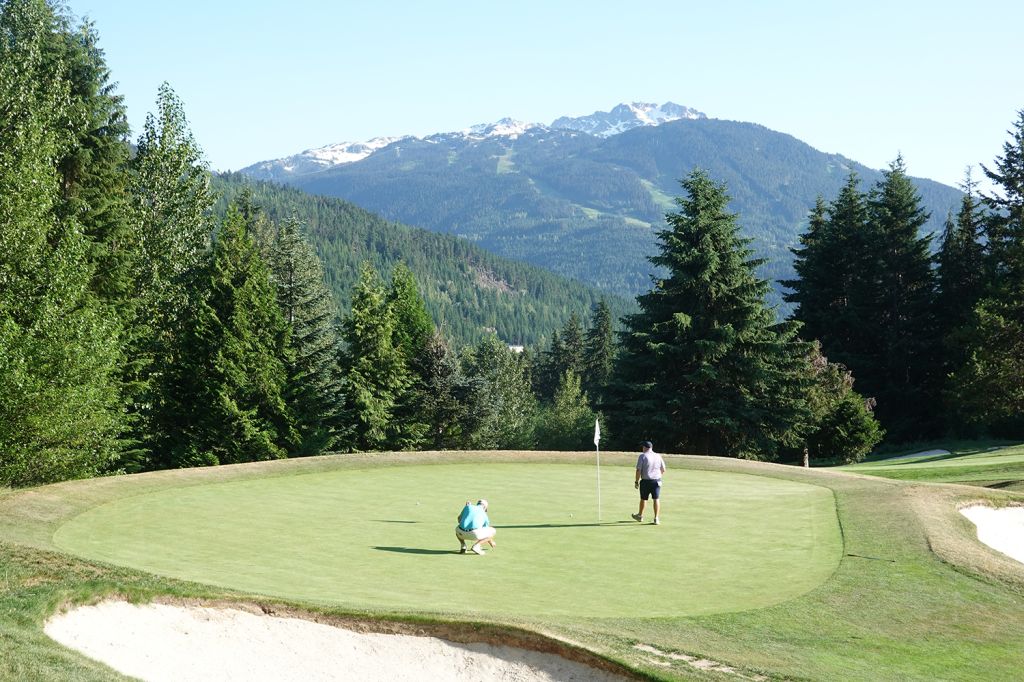
What to Expect: While most courses in the Whistler area are virtually dead flat, Chateau Whistler gives players a true mountain experience with large elevation changes, expansive views, and being subject to the occasional blind shot. The fairways are generally framed by forest or ravines that create clear lines of where you’ll want to place your tee shot. Robert Trent Jones Jr. does a great job of giving plenty of variety to the course, but being offline with your shots will result in numerous lost balls, so come prepared with plenty of pellets if your driver is squirrelly. Bears are commonplace at the course, so you are wise to avoid bringing food with you unless you want a visitor that is much more intimidating than the crows. These hibernators are more common in the spring time, but having one saunter along the fairway during the summer months won’t surprise any locals. The extreme terrain requires carts to efficiently maneuver around the course, and provides a vehicle to house bear spray in. For a true mountain golf outing in the Great White North, Chateau Whistler delivers a memorable experience.
By the Numbers
| Tees | Par | Yardage | Rating | Slope |
|---|---|---|---|---|
| Gold | 72 | 6635 | 71.6 | 142 |
| Blue | 72 | 6243 | 69.6 | 133 |
| Fairmont | 72 | 5982 | 68.4 | 127 |
| White | 72 | 5692 | 67.5 | 119 |
| Red (Ladies) | 72 | 5157 | 69.8 | 126 |
Individual Hole Analysis
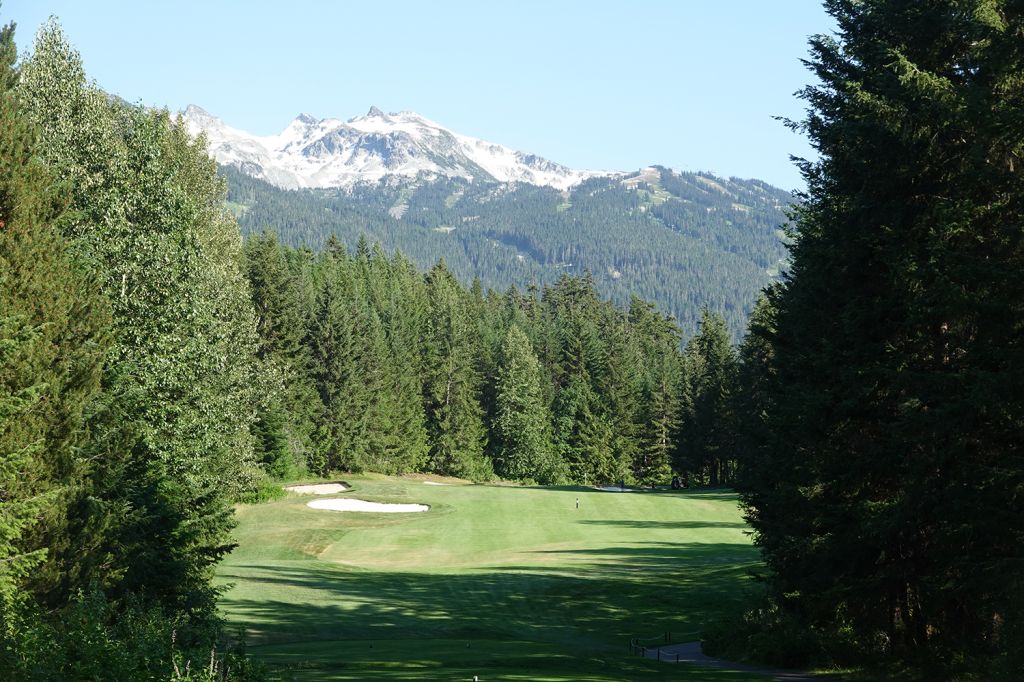
Signature Hole: 8th Hole – 212 Yard Par 3 – A breathtaking downhill par three that drops nearly 30 feet from tee to green, the 8th hole utilizes stunning mountain vistas in the background to mesmerize you. The green is set next to granite rock outcroppings on the right and forest on the left, while a pond needs to be cleared in front of the putting surface. The green is fairly tame, so if your miss is still in play, getting up and down to save par is a viable option.

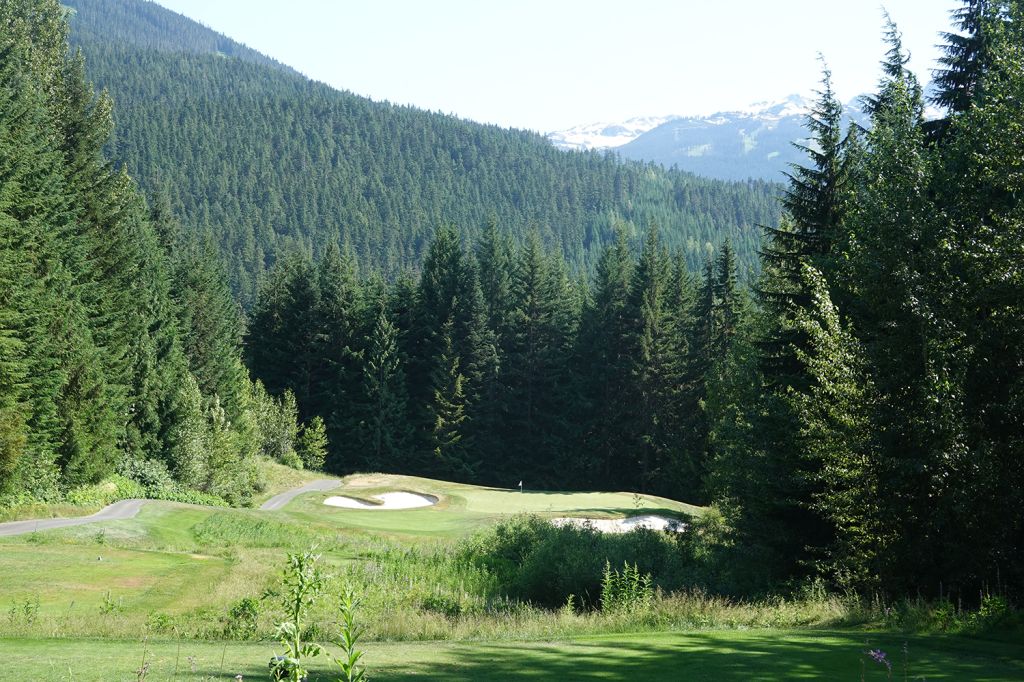
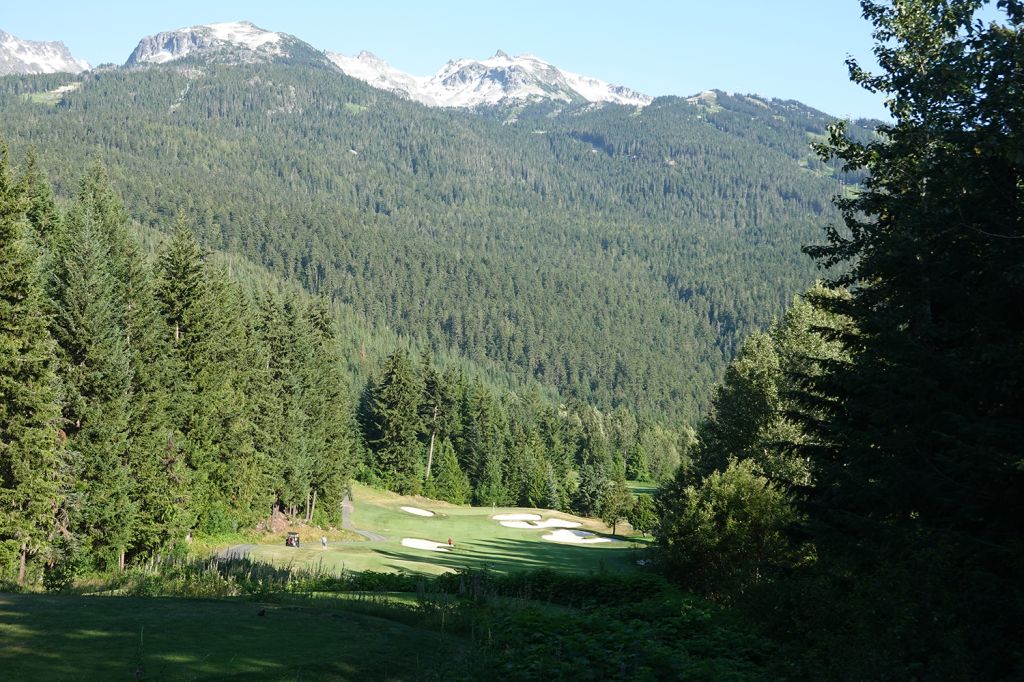
Best Par 3: 5th Hole – 190 Yards – If there is something Chateau Whistler does well, it is taking advantage of the mountain views throughout the course. After ascending uphill for the first four holes, the course turns around and plays downhill for this one-shotter so as to create the most impressive background possible. With bunkers on each side of the putting surface, the 5th requires precision from the tee and asks players to carry a ravine while favoring the left side of the putting surface that slopes to the right. The green is framed by trees to create a natural amphitheater that delivers a strong feeling of seclusion.
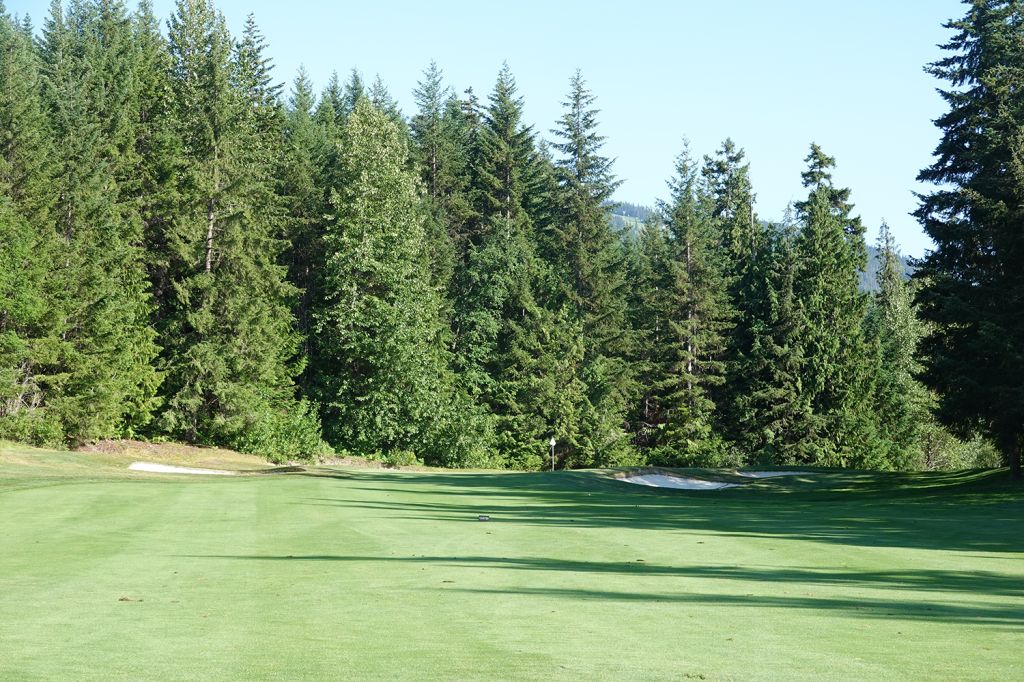
Best Par 4: 11th Hole – 355 Yards – From the northern tip of the property, players start travelling south back towards the clubhouse starting with the 11th tee. As becomes the standard at many of Chateau Whistler's holes, towering mountains, often snowcapped, set the background and evergreens frame the fairway of this downhill two-shotter. With a trio of bunkers up the left side and the hole bending right, players are urged to bomb their tee shot up the right side to set up the best chance of scoring well. The green is pinched in front by a trio of bunkers, so hitting to the middle or back of the green is the best strategy for ensuring par or better. But ultimately, the scenery on this hole is what you'll walk away remembering.
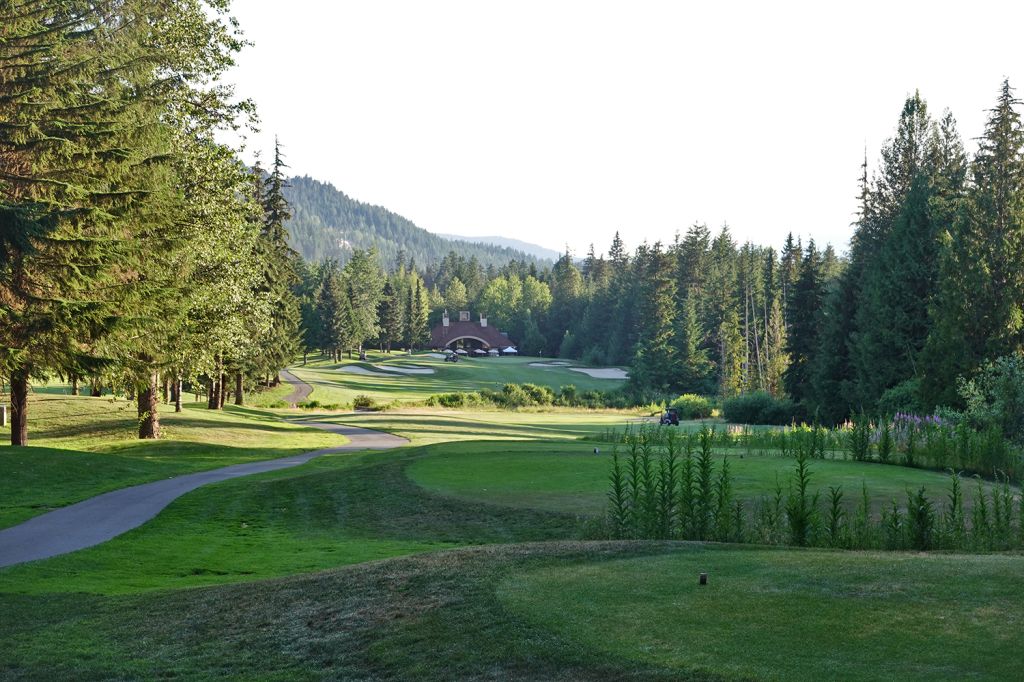
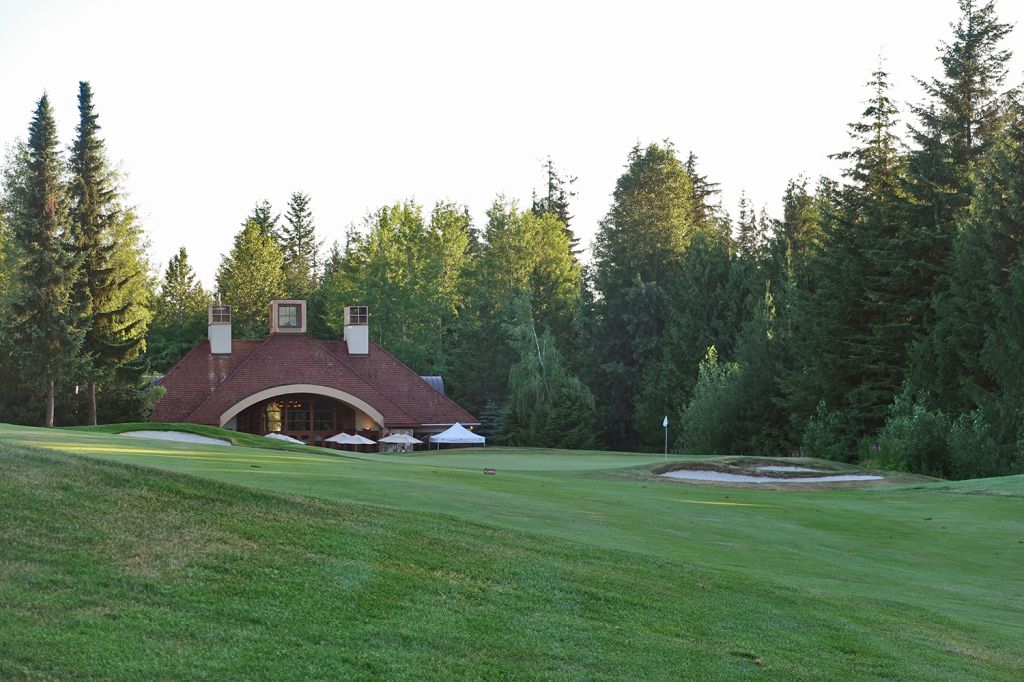
Best Par 5: 18th Hole – 543 Yards – Blackcomb Mountain overlooks the clubhouse that rests behind the 18th green and creates the setting for the closing hole. This three-shotter has two fairways, the first which is bunkerless and terminates into a pond 240 yards out from the center of the green. The forced carry to the second fairway will need to avoid the bunkers found on each side of the fairway, and preferably the bunkers on each side of the front of the green. Favoring the left side of the green on the approach shot will utilize the kicker slope that will feed balls back towards the center of the putting surface. Having a par five as the final hole is always an exciting scoring opportunity, especially if there are onlookers from the clubhouse.
Birdie Time: 13th Hole – 349 Yard Par 4 – Temptation presents itself on the 13th hole with a short, downhill par four that will have you swinging for the fences. Taking a line that is just left of the sharpest peak in the mountain, that sets the backdrop, will offer the best result since the fairway slopes to the right. A good drive will leave a scoring club in your hand and a receptive green, so it is time to go pinseeking and get a stroke back from Old Man Par.
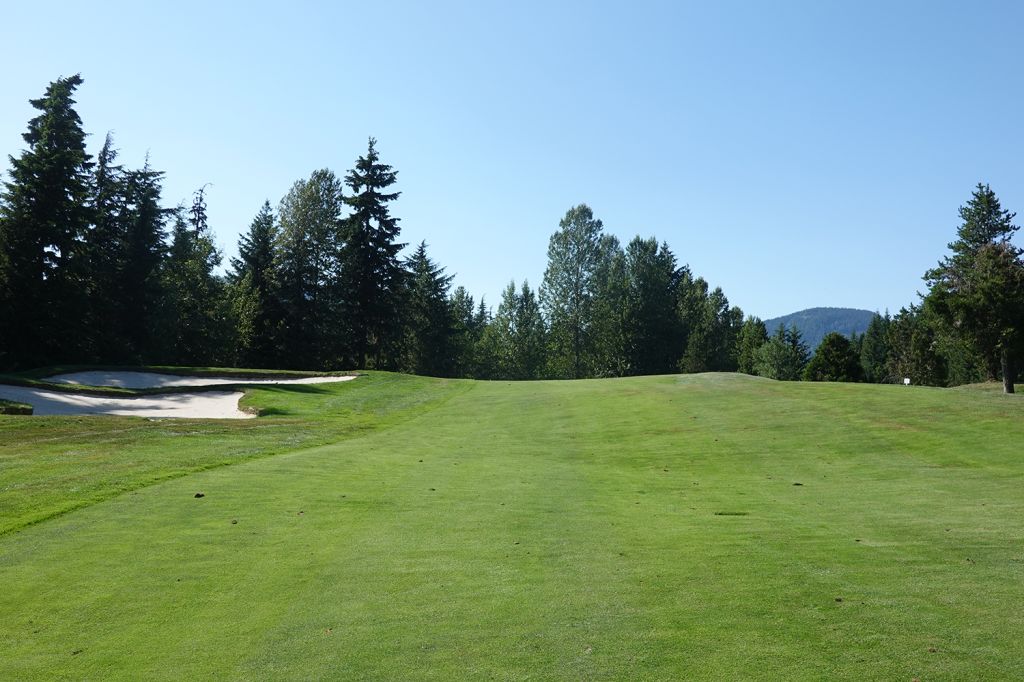
Bogey Beware: 6th Hole – 457 Yard Par 4 – A roller coaster of a fairway awaits on the 6th hole, and stands as one of the most difficult tee shots to hit. Your drive plays uphill to a fairway that bends left and out of view with a forest of trees lining each side of the short grass. The fairway dips back downhill with a pair of bunkers on the left side 75 yards from the green and one more bunker flanking the left side of the putting surface. The green sits below the fairway and can create a blind approach shot that makes garnering confidence difficult. There isn't a shot on the 6th hole that is easy, so walking away with par is a quality sign of merit.